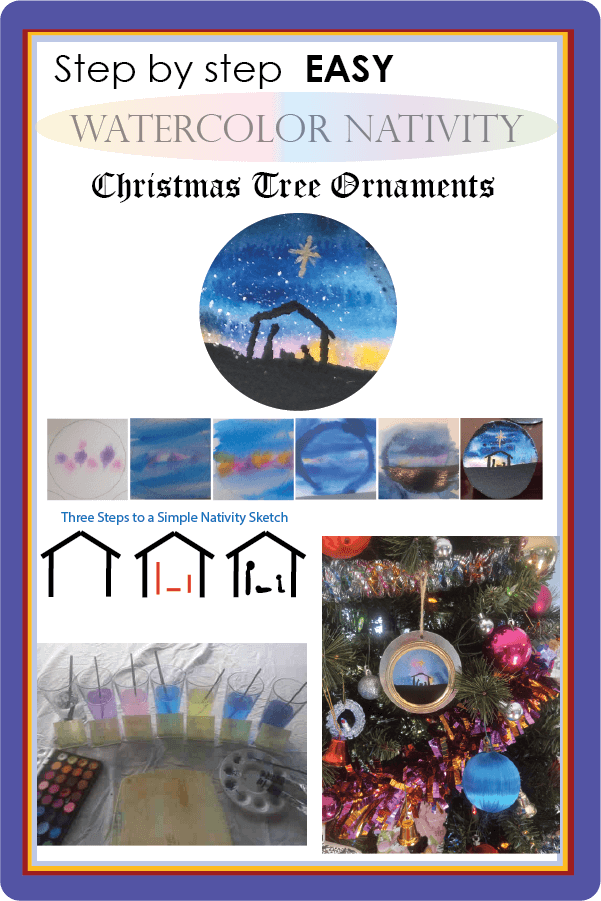
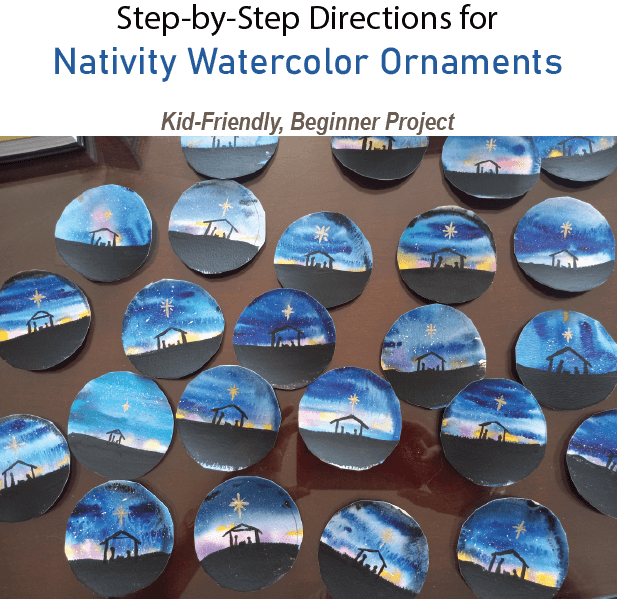
Watercolor Christmas Tree Ornaments
Even a beginner can paint these watercolor Christmas tree ornaments of a quiet nativity scene.
Materials Needed
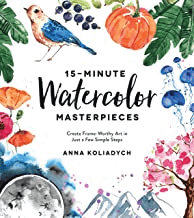
Depending on how one chooses to frame their painting, the materials might be different. Here's my list:- 15 Minute Watercolor Masterpieces by Anna Kolidaych - Highly recommended for beginners
- Basic watercolor paint set from your craft or hobby store
- Tubes of blue and black watercolor (I used enough that it was helpful to have the extra. Particularly the black.)
- Gauche Paint - one tube of white (for the white stars splattered in the background)
- Set of paint brushes - I used round #3, 5, 6, and 10
- Tiniest brush you can find for nativity: 20/0 is the size used here.
- Toothbrush - to splatter-paint the white gauche stars
- Tablet of watercolor paper (standard 140 pound)
- Optional: Curate Micae Powder for the star. (Near the glitter section)
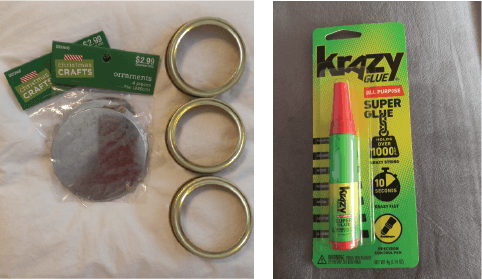
- Flat silver ornaments as the base (obtained from Hobby Lobby)
- Crazy Glue
- Mason Jar Rims (See below regarding the framing.)
Painting the Nativity Scene in Watercolor
Setting Up
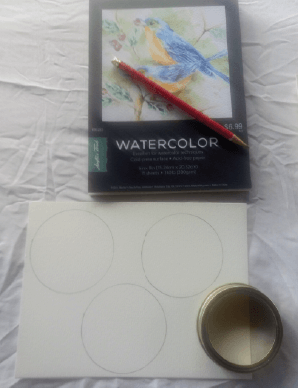
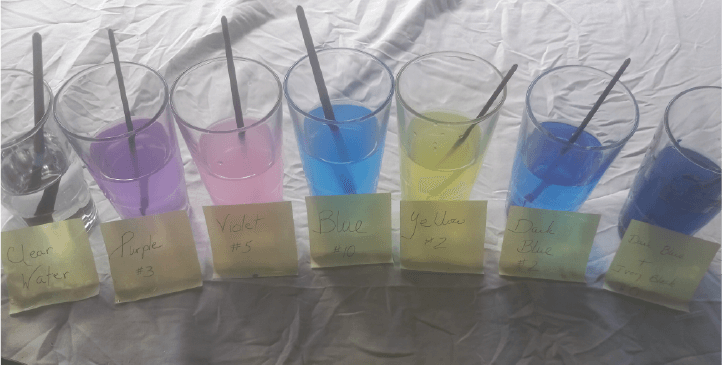
I also set up seven cups of water so I could move quickly through the first few steps.
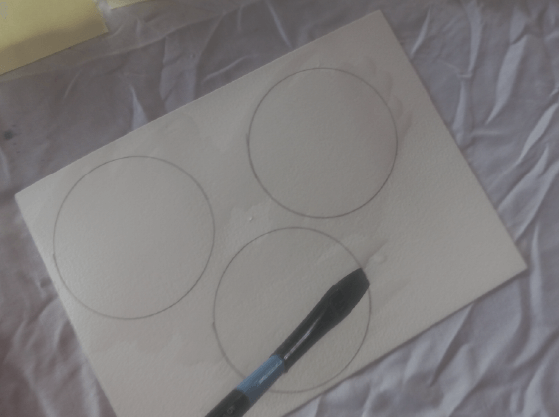
Part One: Paint The Background

Each page was taped to a board. Then I did Step One on all circles on a single page; then put down that brush and did Step Two on all circles on the page, then quickly through all five steps in Part One. The glasses of water and brushes were set up in the order they were used so I only touched each brush once per page.
Then I untaped that page, taped the next page down, and repeated step one to five quickly.
This only takes one to two minutes per page to do all four steps.
Step One: Water
Step Two: Pink & Violet
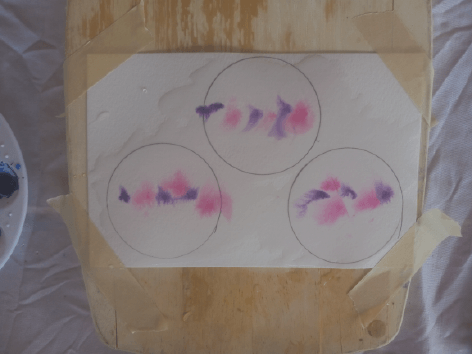
And right from the start you can see that each of your masterpieces will be unique.
Step Three: Blue
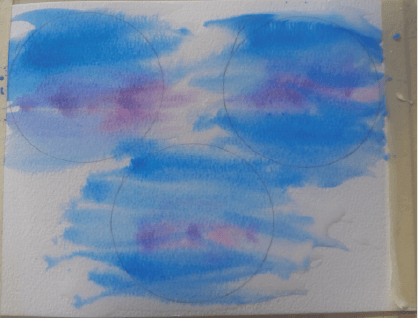
Step Four: Yellow
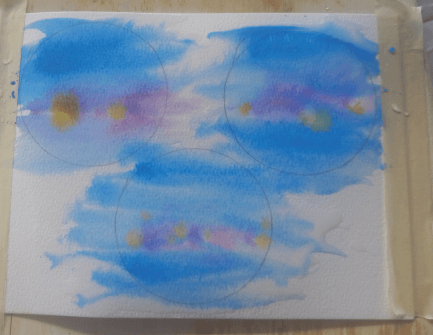
Step Five: Dark Blue
Whew! The background is done. Let all the circles dry before going to the next part.
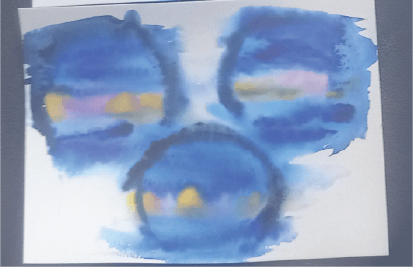
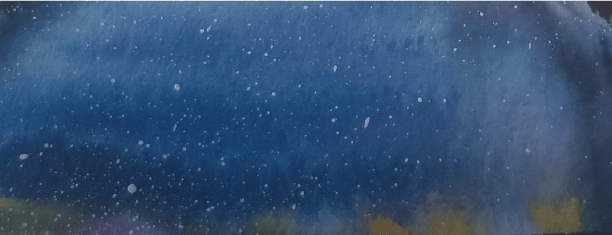
Part Two: Stars in the Sky
Part Three: Black Bottom
I did use the black watercolor from the tube, rather than the dry paint.
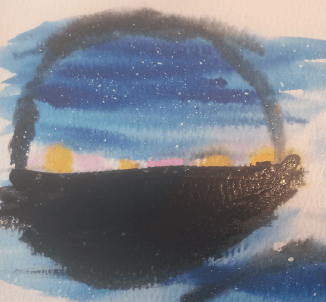
Part Four: Nativity

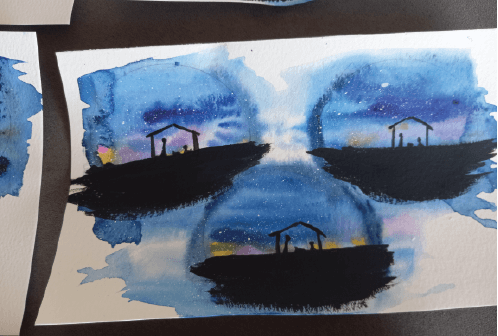
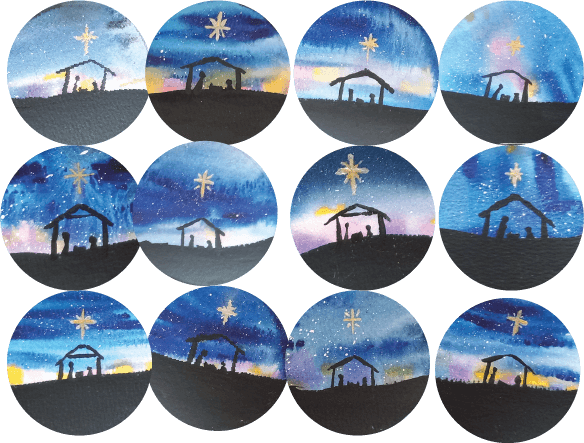
In the rough - they all are different!
Part Five: Silver and Gold Star
I debated using silver vs gold mica powder; then ended up using both. The silver brought in the background of the silver circle I glued the canvas to, and the gold matched the mason lid rim. You also could use any gold, silver, yellow, or white gauche paint. (I like the metallic effect of the mica powder.)Here's the basic design of the star using two different colors:
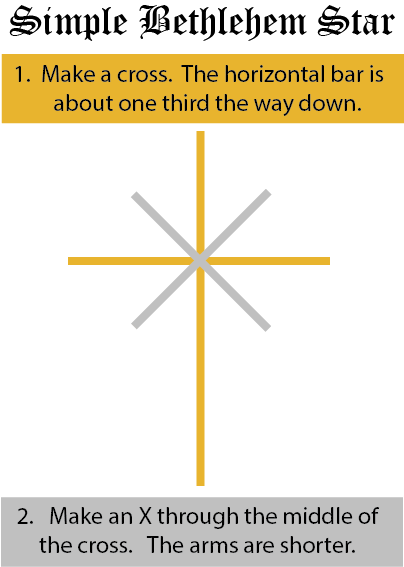
- Draw a simple cross. The horizontal bar is about one third the way down.
- Draw a simple "X" over the cross. The arms are shorter.
- It can be in one color or two.
Every One Is Different
No Two Are Alike!
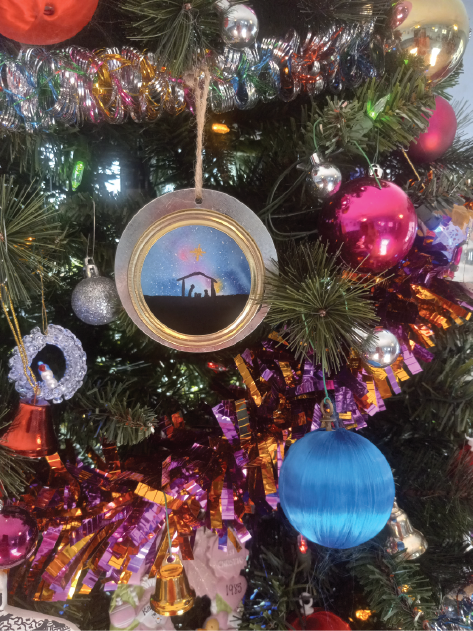
Framed in its own Shadow-Box
I used a mason jar rim as the frame which gave a three-dimensional effect.
On the Tree
More Christmas Pages For Your Holiday
Christmas Tree Ornaments
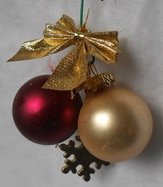
Christmas ornaments for crafty families
Zentangle Ornaments
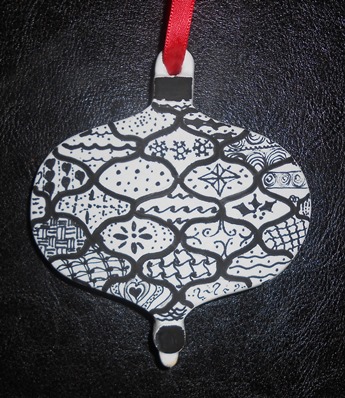
Zentangle Christmas Ornaments
Quilling Stars
A Paper Craft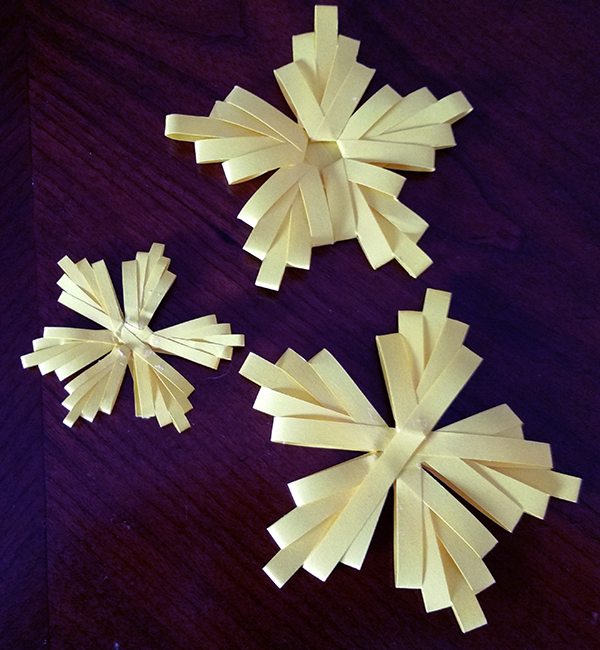
A Paper Craft
Directions for 5 different quilled stars
Yoyo Button Dolls
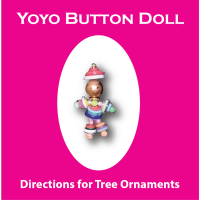
Directions & Template
Christmas Day Activities
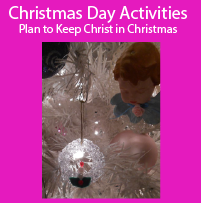
Plan how to keep Christ in Christmas
Twelve Days of Christmas
Activities to celebrate Dec 12 to Jan 6
Raggedy Ann
and Andy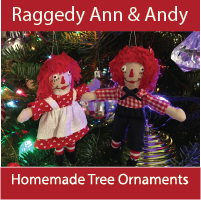
and Andy
Home-sewn 4.5 inch tree decorations
A Christmas Carol
Unit Study of Dicken's great classic
Watercolor
Nativity Scene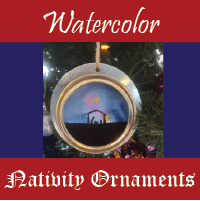
Nativity Scene
Instructions for beginner ornaments
Ready To Use Resources


About Our Site
Hands-On Learning


Our Site At A Glance
By Karen Newell Copyright© 2009 - 2026 Learn For Your Life All Rights Reserved