Quilling Stars
5 different types of quilled stars and how to make them
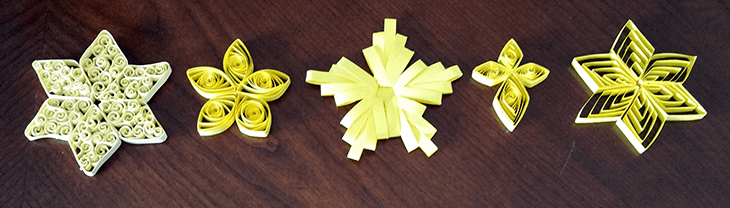

This year I wanted to make a Christmas ornament with an angel and star. So I decided to start with the simplest part: the star. But what type of star?
I usually begin by making a prototype, so here I'll walk you through five different prototypes and how they were made.
Paper
All of these were made with 1/4 inch strips (6mm) that came in a premade pack, 16 inches long, 50 pieces.Yes, I have cut my own strips, but I'm all for quick short cuts when I can get them.
Border Filled Star
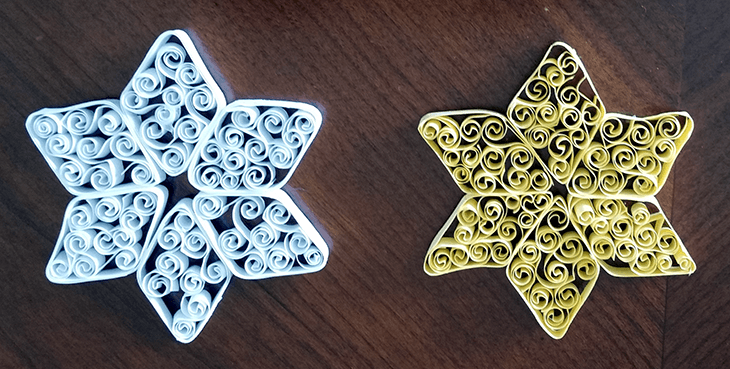

These are fun to make in two simple steps.
- First, make six borders.
- Second, fill the borders with swirls.
Supplies for Border Filled Stars
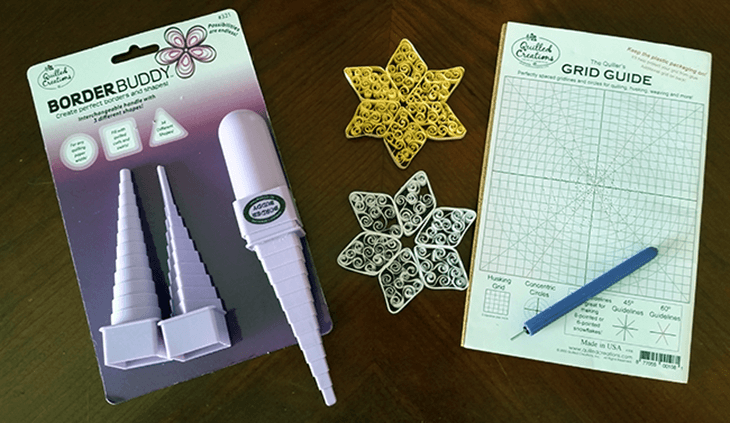

I used the border buddy to make the outline. I used the largest size square at the bottom of the border buddy. While, it takes a little extra work, the results are best if you apply the thinnest, smallest, tiniest, itsy-bitsiest amount of glue between each layer. After applying the glue with a toothpick or quilling tool, pull the strip tightly across the next layer - but not so tight you tear your paper.
This will be a tough star to make if you don't have a border buddy, but if you have a small square box or shape you might be able to make it.
I used the Grid Guide to help glue the six pieces to keep them symmetrical. The Grid Guide isn't essential, but I have found it so helpful for any round projects like stars, snowflakes, and flowers.
How to Fill Your Borders
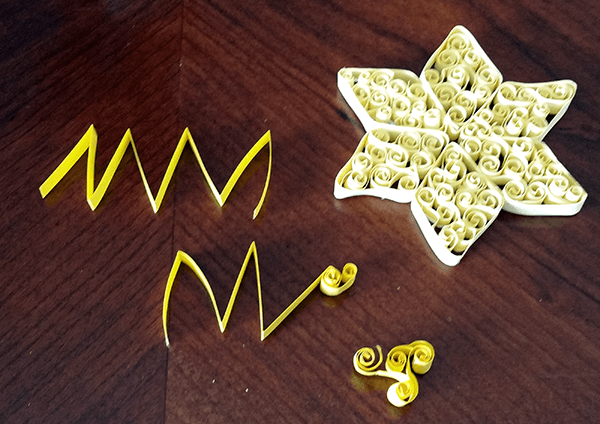

You can simply make lots of individual swirls to put inside the border. But here is an easier method.
- Use an 8 inch strip
- Fold it in half 3 times, so each fold is 1 inch in length
- Straighten it out, then refold it so each it forms a fan shape (strip on top)
- Use the quilling tool to roll each strip (it will be a double thickness of paper.)
- In the end, you will have four swirls from one eight inch strip.
- It will take two to three strips to fill one border.
- Sculpt the swirls into your border. If you have empty spaces, you may fill it with single swirls or double scrolls.
Marquise Star
Simple Shape for Kids or Beginners
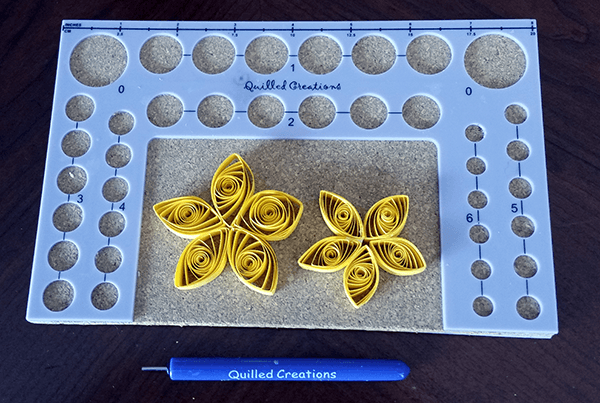
Above I have two different sizes, one made on the "0" circle (1" or 25mm) and one made on the "1" circle (7/8 inch or 18mm.)
Both were made with 16 inch strips. You can see how much less filled the larger circle is when using the same length of paper.
In my personal opinion, these stars look a little too much like flowers. (And most quillers have made lots and lots of marquise flowers.) However, their simplicity make them an easy shape for kids or beginners who would like to make some stars for their Christmas tree.
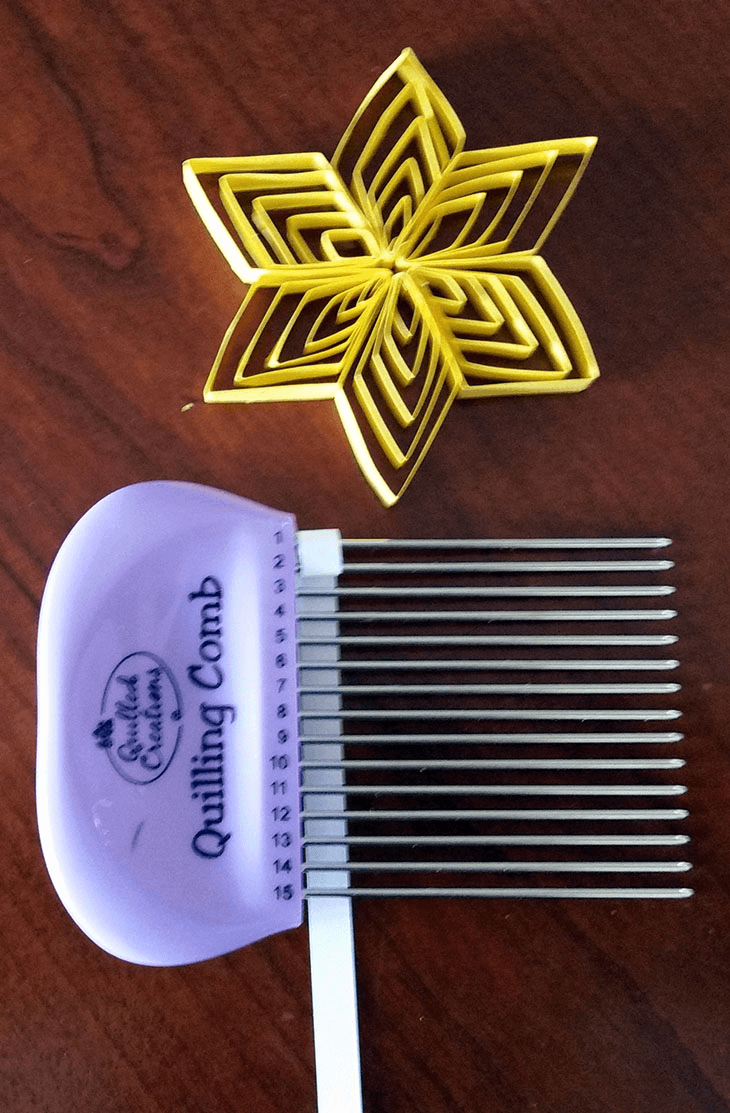
Double-Comb Star
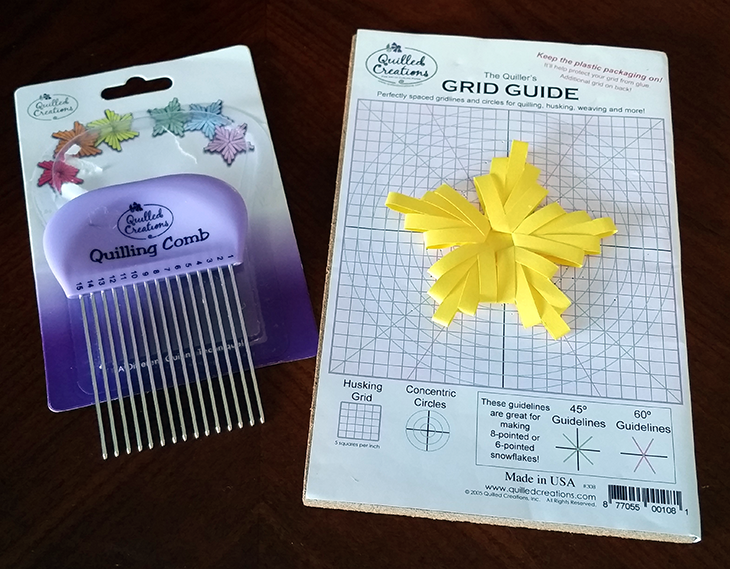

This star requires a quilling comb. Though it is possible to make with any comb, the combs made for quilling will make it easier.
You may have noticed in these pictures I use a lot of Creative Quilling supplies. They are not the only ones who make quilling supplies, but I do use them a lot. They have just about everything and a wide variety of papers.
The Creative Quilling Comb also has a picture of the star right on their package as you can see in the picture. I made five double-sided symmetrical comb shapes and used the grid to glue them together.
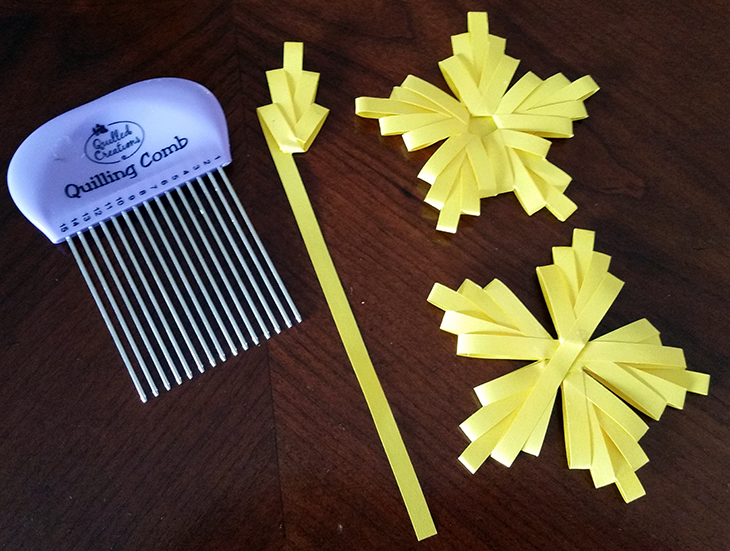
- Connect them in the front. This leaves a gap in the center. I put a piece of yellow paper behind it.
- Leave the end of the strip and layer the strips.
It is not hard to make these shapes, but I have not conquered the perfect way to combine them into the final star.

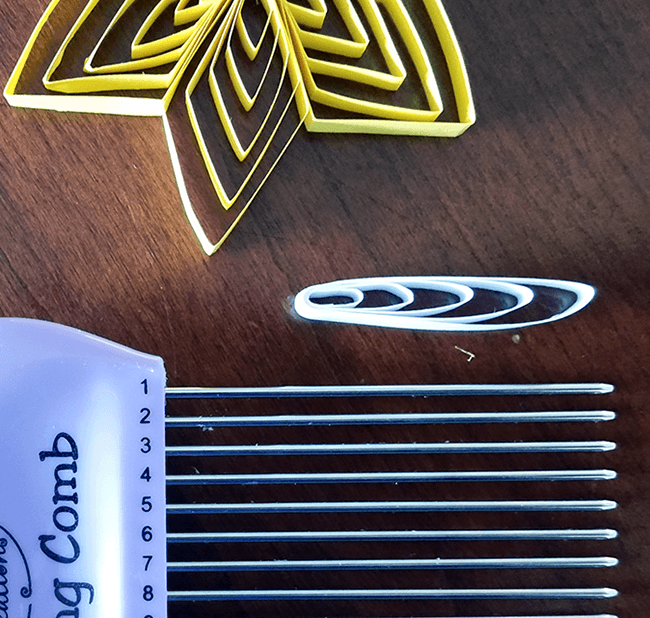
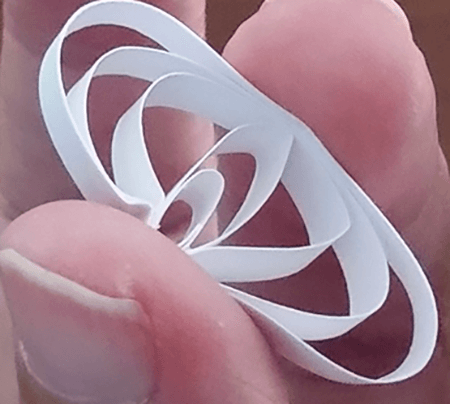
6 Pointed Layered Star
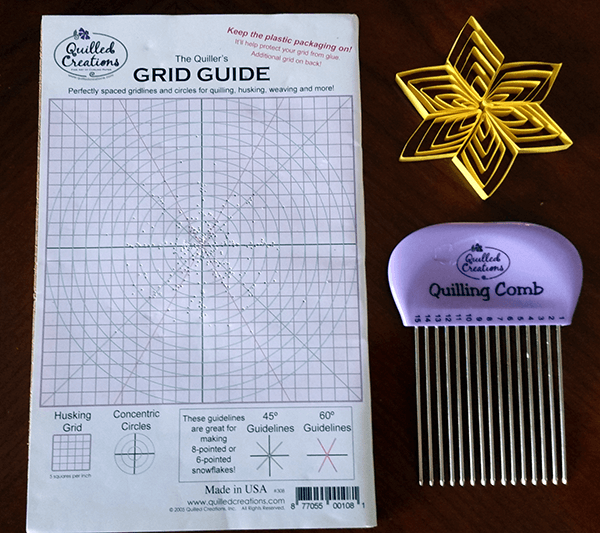

Here is one of my favorites. It is a little complicated, so I will walk you through it. For better directions, see the youtube video "Galaxy Stars" by "Karen Marie Glip." (I would put a live link to her video, but dead links mess up a site.)
The pictures below, walk through it. Sorry, I had to switch to white paper because I finally ran out of yellow.


It takes approximately 12 inches of paper to make this, but I don't tear it until I'm done so I don't run out of paper.
 Gently pull the strip off the comb. It will look like the picture above. Let the glue dry for a minute or two before reshaping for best effects.
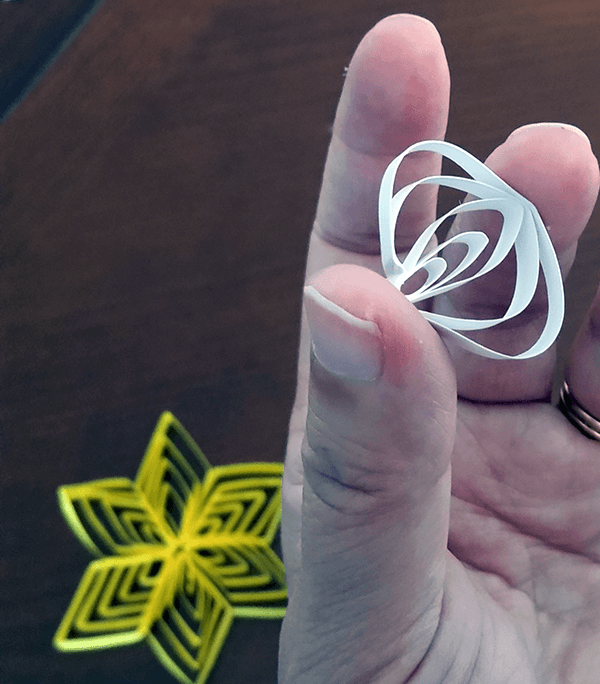
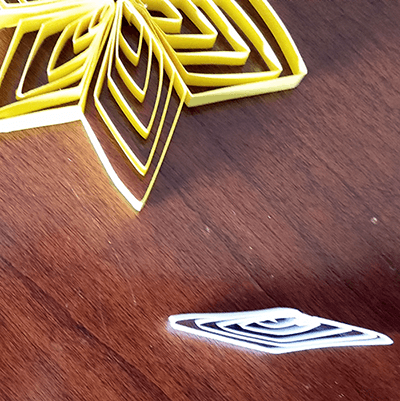
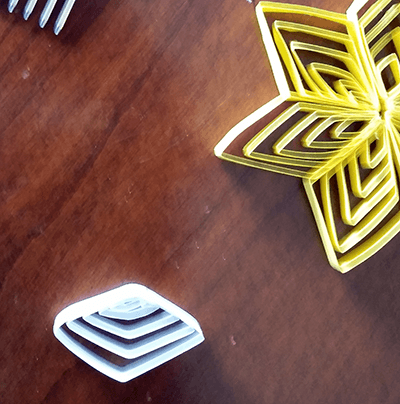
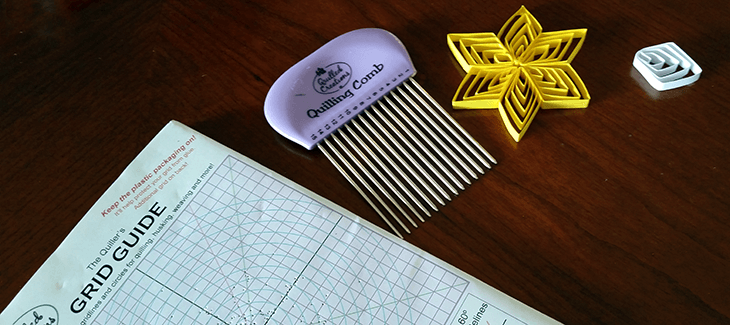
It is definitely a help to have the Grid Guide when gluing the star together.
Bethlehem Star
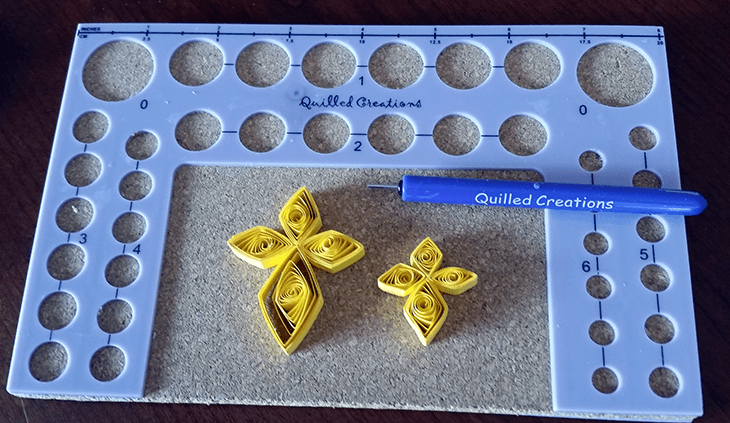

The Bethlehem Star is fairly easy to make. The larger star on the left was made with four diamond shaped pieces. The three smaller shapes used the #2 circle and the larger used the #0 circle.
The smaller star used three of the #4 circles and one piece from the #2 circle.
Crimp the Stream of Light

The Final Star
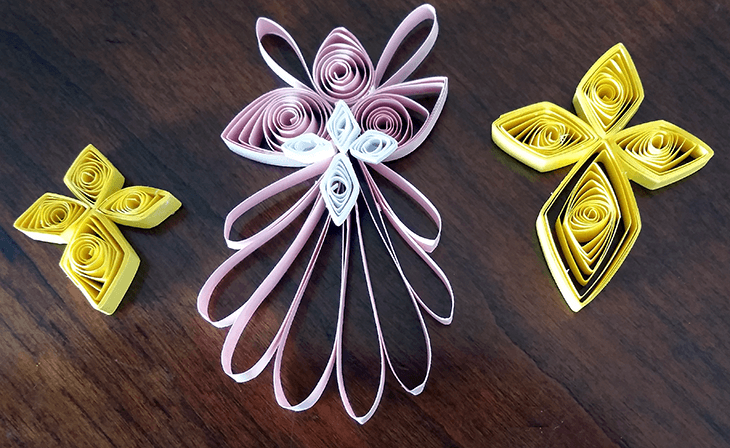

So after all of that, I finally accomplished my original goal: to find the type of star I wanted on a quilled angel.
And now, I need to experiment on a prototype for an angel!
More Christmas Pages For Your Holiday
Christmas Tree Ornaments
Christmas ornaments for crafty families
Zentangle Ornaments
Zentangle Christmas Ornaments
Quilling Stars
A Paper Craft
A Paper Craft
Directions for 5 different quilled stars
Yoyo Button Dolls
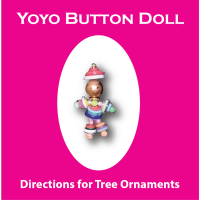
Directions & Template
Christmas Day Activities
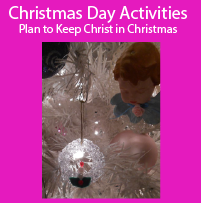
Plan how to keep Christ in Christmas
Twelve Days of Christmas
Activities to celebrate Dec 12 to Jan 6
Raggedy Ann
and Andy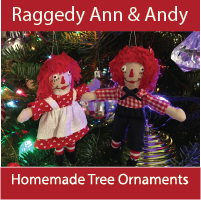
and Andy
Home-sewn 4.5 inch tree decorations
A Christmas Carol
Unit Study of Dicken's great classic
Watercolor
Nativity Scene
Nativity Scene
Instructions for beginner ornaments
Ready To Use Resources


About Our Site
Hands-On Learning


Our Site At A Glance
By Karen Newell Copyright© 2009 - 2026 Learn For Your Life All Rights Reserved